
Everything it does. It's a short list.
Build a library, put tours together from it, send them to clients. That's it - and each part is as plain as we could make it.
1. Build your library once
Everything you sell, written up one time and reused in every itinerary after that.
-
Five kinds of building block
Locations, accommodation, activities, dining and travel legs. Each is a short form: a name, a tagline, a description and some photos.
-
Import from a spreadsheet
Already have your hotels and activities in a spreadsheet? Fill in our template and upload the lot in one go.
-
Photos sorted for you
Upload a photo and it's cropped and resized to fit. No image editing, no worrying about file sizes.
-
Simple text formatting
Headings, bullet points, bold and links in your descriptions, using a toolbar that works like any word processor.
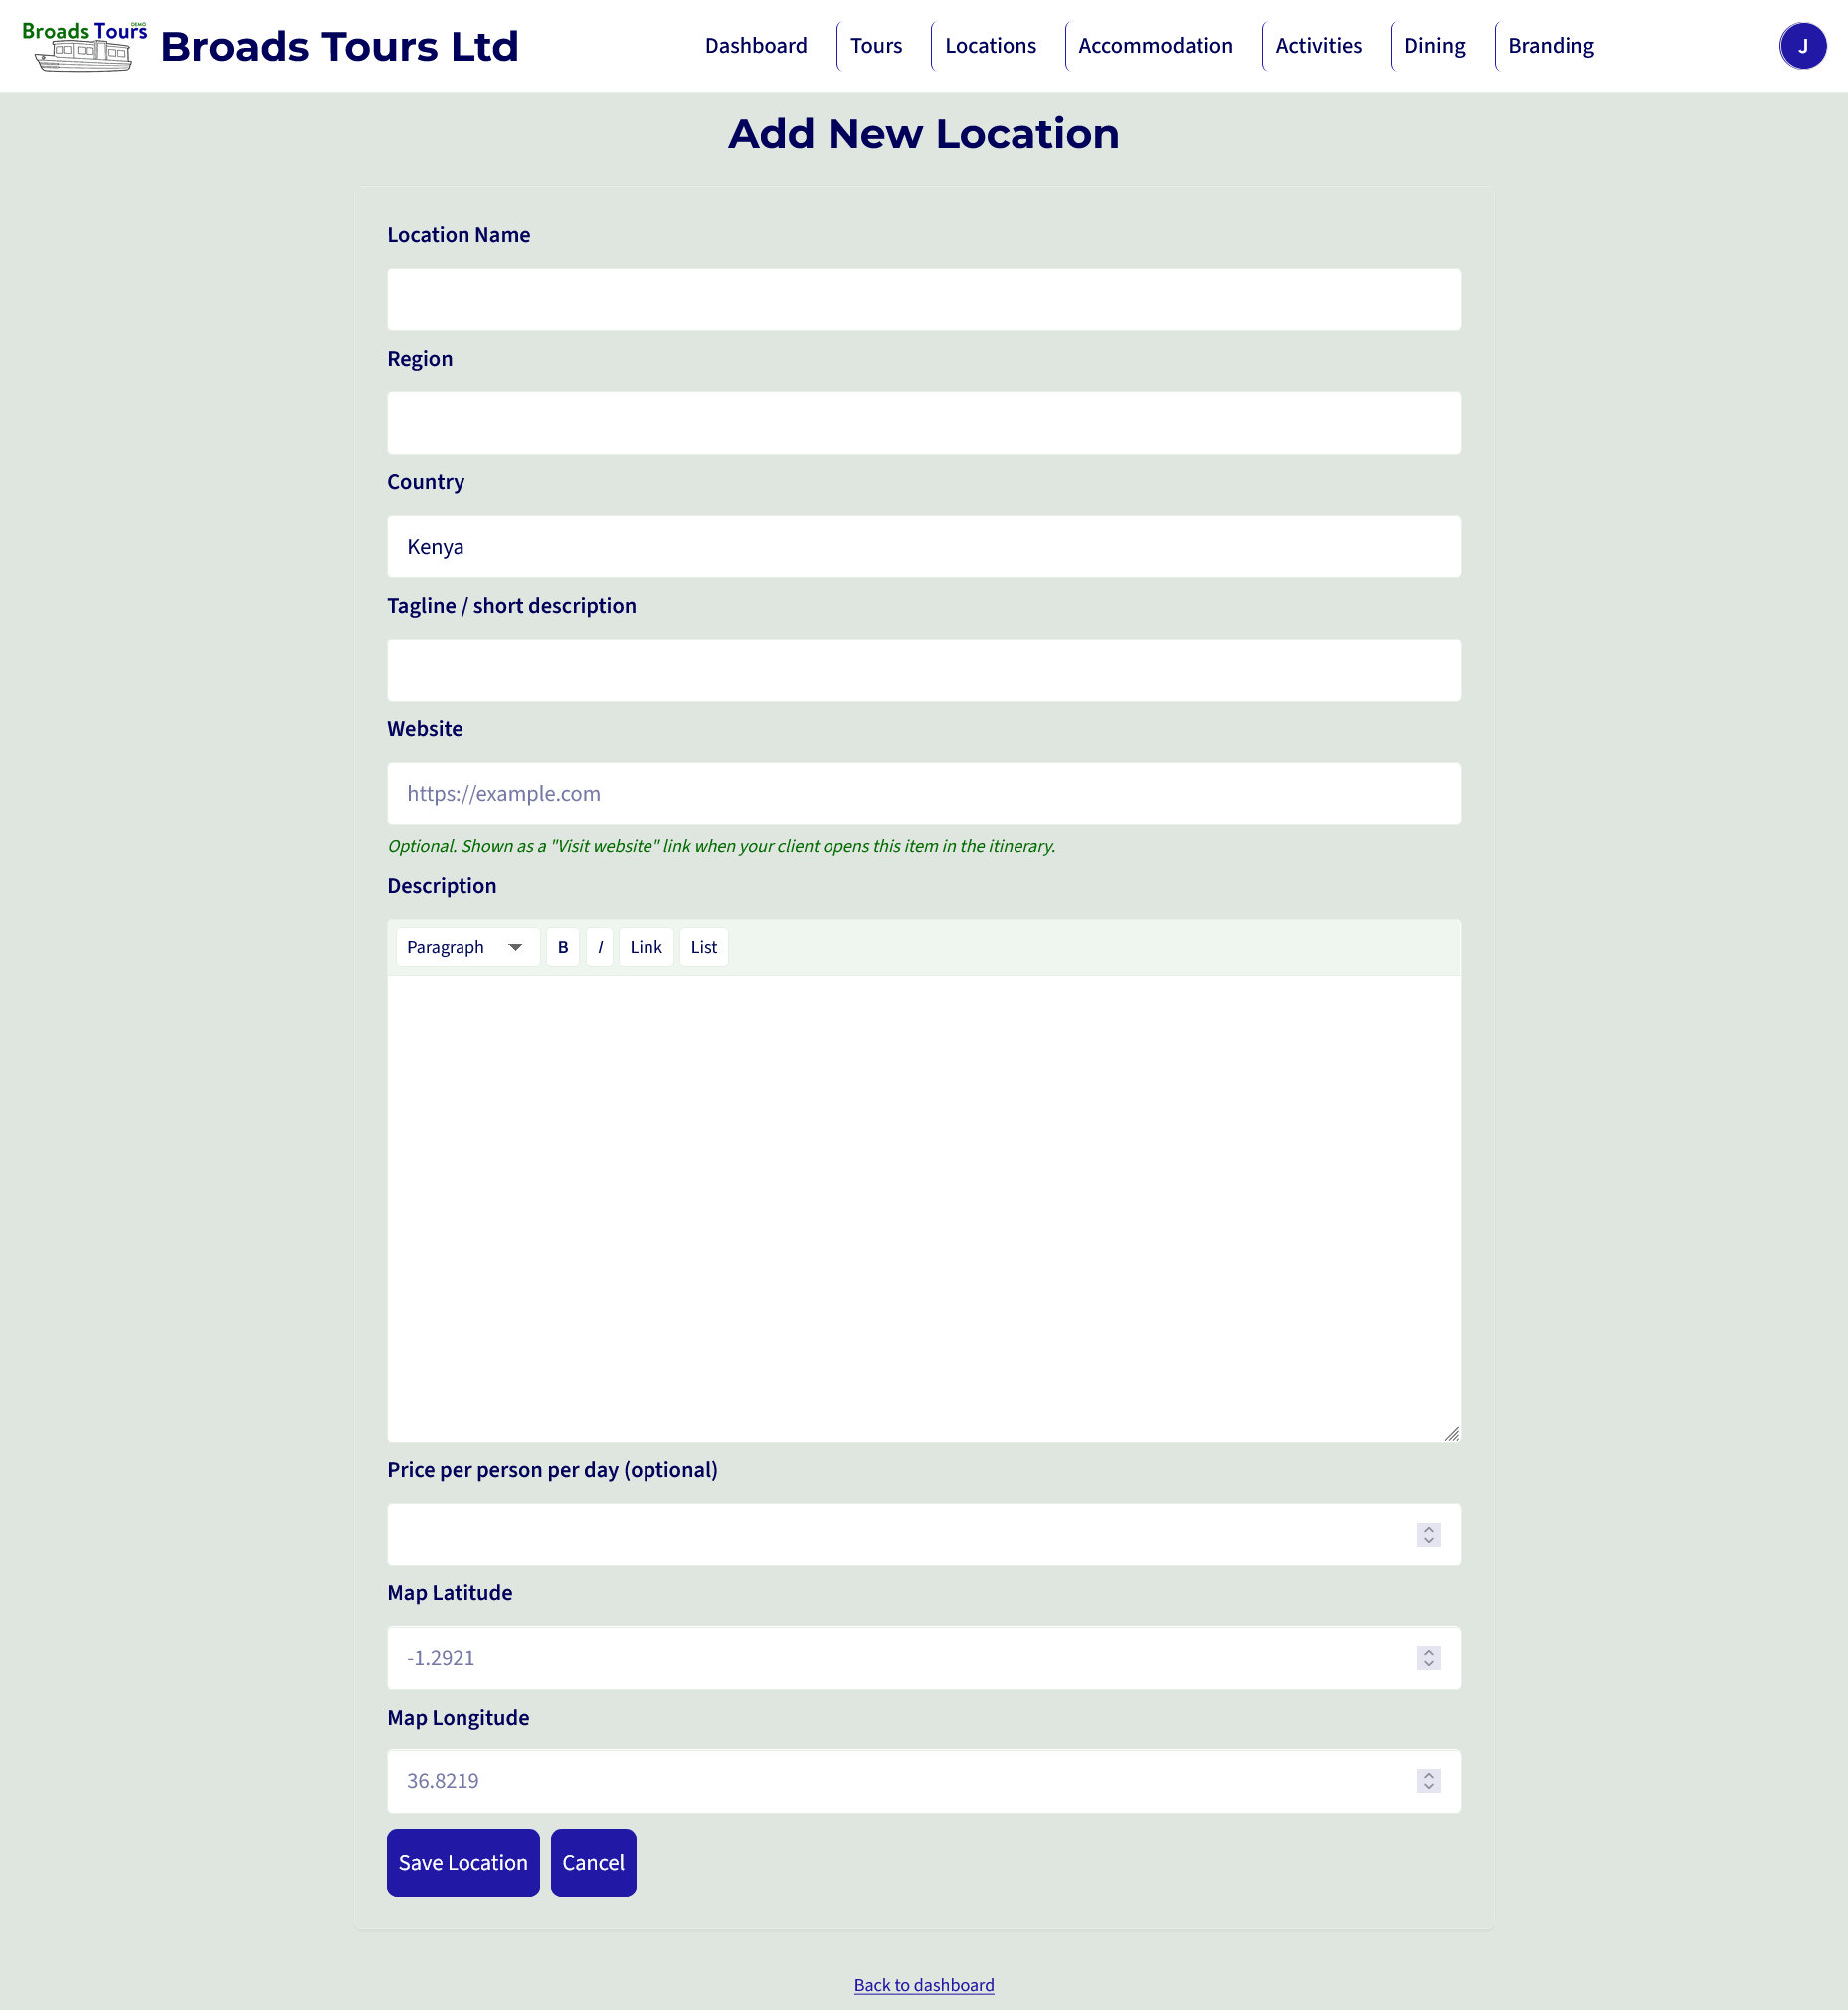
Every screen looks like this
A clear title, a handful of fields, a Save button. If you've filled in a form online, you already know how to use YourItineraries.
2. Put a tour together
Pick from your library, one day at a time.
-
Day by day
For each day: where they are, any travel, what they do in the morning, afternoon and evening, where they eat and where they sleep.
-
Sensible defaults
Meals are assumed to be at the accommodation unless you say otherwise. Dates can wait until the booking firms up.
-
Offer a choice of stay
Add up to three places to stay for a night and mark the one you recommend.
-
Duplicate and adapt
Copy a tour that sold well, change the dates and the details that differ, and it's ready for the next client.
-
Add the quote
Attach your price to the tour so the client sees the plan and the cost together.
-
See where each one stands
Every tour is Draft, Sent, Approved or Archived, so you can tell at a glance what's waiting on whom.
3. Send it
One link. Your client does the rest.
-
A private link and PIN
Each itinerary has its own link and six-digit PIN. Add a personal note when you share it.
-
Looks right on any device
A full version with large photos and galleries, a lighter version for phones, and a PDF to print or pass on.
-
Approve on the page
Your client presses Approve and the tour's status updates for you. No chasing a "yes" through email.
-
On your own website
With Pro, paste two lines of code into a page of your website and a sample itinerary appears right there.
-
Your brand throughout
Your logo, colours and a font pairing you choose. Pro adds any font you like and your own address, such as tours.yourdomain.com.
And a person to ask
You deal directly with Jake Kidde Hansen, who built YourItineraries. He sets up your branding, loads your first content and shows your team around. If something would make your job easier, tell him.
See a real itinerary
Leave your details and we'll email you a link to a live example - exactly what your clients would see.